Essential Oils 101: All The Basics You Need To Know

Essential Oils 101: All the Basics You Need to Know!

The power of essential oils  is real – have YOU made them part of your everyday life yet?

We’re going to lay out all of the basics so you can get on this one bandwagon that’s here for the long haul. And when you learn about the history of Essential Oils, you’ll know that they’re not even new. In fact, these oils have been around for centuries!

Some essential oils come from seeds while many others are extracted from the leaves of the plant. Because essential oils are so highly concentrated, it takes a tremendous amount of plant to produce just one ounce of oil.

Due to this level of concentration, essential oils are incredibly powerful, so a little bit goes a long way!

Some “essential” terms you should know:

AROMATIC

Essential oils are basically the natural aromatic compounds extracted from seeds, bark, stems, roots, flowers, and other parts of plants. Diffusion is one of the most popular ways to enjoy the aromatic benefits of these oils.

CARRIER OIL

This refers to a lipid- or fat-based liquid used to dilute essential oils. Olive, coconut, almond, grapeseed, jojoba, and argan oils are the most common ones.

DISTILLATION

The process of extracting essential oil from plant material.

Steam distillation is the most common distillation method that uses low-heat pressurized steam to circulate through plant parts and extract oils.

Cold press distillation uses a mechanical press to squeeze the oils from plant parts It is the most commonly used method for obtaining citrus oils – a classic ingredient in DIY household cleaning products. This is to preserve their aromatic bounty!

Historic Essential Oils

Despite being suddenly catapulted into popularity, essential oils are not a new thing.

The ancient Egyptians were among the first to use these aromatic oils for daily life. Pure essential oils were prized and saved for priests and royals. Other ancient societies, such as those in China, Greece and Rome used essential oils for aromatherapy, illness, and personal hygiene.

Essential oil starter kit:

Are you a newbie to Essential Oils?

Here are 4 of the most popular ones to try first, and a few suggested uses. They make great staples in your medicine cabinet too!

TEA TREE OIL (Melaleuca Alternifolia): Soothing, cleansing, & healing
  • Combine 1–2 drops with your preferred facial cleanser (or moisturizer) for added cleansing properties.
  • Mix 1-2 drops with pure aloe vera gel and apply to skin after shaving.
  • Use diluted with water and/or vinegar as a surface cleaner – see recipe below!
  • Add a few drops to shampoo and massage into the scalp – use in your conditioner too.
  • Add a drop to toothpaste or swish with water for a quick and easy mouth rinse – but do not swallow or ingest.
LAVENDER (lavandula angustifolia): Soothing & calming
  • Add a few drops to your pillow or bottoms of your feet for a restful night’s sleep – or use in a diffuser near your bed.
  • Apply topically to help heal pimples, skin inflammation, and irritation – be sure to test a drop on your skin to test for sensitivity; dilution may be required.
  • Soak away stress! Add a few drops with epsom salts to a warm bath. (The epsom salts will help the oil spread through the bath instead of just sitting on top of the water.)
LEMON (citrus limon): Cleansing, revitalizing & uplifting
  • Use to remove gum, glue, or any other sticky residues from surfaces.
  • Use in a diffuser to purify the air, creating an uplifting & refreshing aroma.
  • Add to a spray bottle full of water to clean tables, countertops, and other surfaces – recipe below!
PEPPERMINT (mentha piperita): Cooling & energizing
  • Apply a few drops directly to the skin of the back of your neck to cool off.
  • For a refreshing aroma, diffuse at night by your bedside.
  • Feeling tense? Rub on head and neck for a soothing, calming sensation.
  • Add to shampoo or conditioner for a stimulating & invigorating scalp massage.
  • Use as a natural bug repellent.
  • Dilute & rub up and down the spine to help relieve a fever naturally.

Other popular essential oils for beginners frankincense, clove, eucalyptus, clary sage, sweet orange, grapefruit, and rosemary.

Applications, skin sensitivity & ingestion

Essential oils can be used topically (which means you can apply them directly on the skin), mix them with carrier oils, or mix with other personal care products.

DILUTE — The carrier oil will help transport the essential oils (EO’s) onto the skin. Mix one of the carrier oils mentioned above with your choice of essential oil & apply.

NEAT — This is the technique of applying the EO’s topically without dilution.

INGESTION— While there may be indication for internal ingestion of essential oils for therapeutic purposes, many of the ailments that we experience do not need such a heavy dose internally. These ailments may be more effectively addressed through inhalation (diffusers, personal inhalers, etc.) or topical application (salves, massage oils, baths, etc.).

Be sure to consult a professional aromatherapist before ingesting essential oils. Always make informed choices, and do your own research when choosing to use essential oils.

These oils are incredibly powerful and serve many purposes for the home, and in daily health routines. You can enjoy some therapeutic effects, as well as DIY dozens of homemade products with some basic knowledge, and having a few high-quality oils on hand.

RECIPE

Natural All-Purpose Household Cleaner

Ingredients:

  • ½ cup plain white vinegar
  • 2 Tb baking soda
  • 10-15 drops tea tree, lavender, lemon, eucalyptus &/or rosemary essential oil (or any combo of these) for their disinfectant properties

Preparation:

In a clean 12-ounce spray bottle (glass is best), mix the vinegar, essential oils, and a splash of water before adding baking soda *important*.

Then fill to top of bottle with water, and gently shake to mix ingredients. Then spray area, wipe with a clean cloth, and allow it to dry. Dirty areas are now clean and disinfected!

About No Limits

No Limits Fitness provides step-by-step programs to help busy adults get the body they’ve always wanted, without restrictive diets or time-consuming workouts, so they can lead more fulfilling lives. Life is a much better experience in a strong, healthy body!

Recent Posts

By Juan Perez 03 May, 2024
Every year millions of people make the resolution to improve their fitness. It’s not exactly a secret that the majority of these good intentions will quickly turn into empty promises. When you first get started, your excitement and energy are high and it’s easy to feel like you’re in control and that your will power alone will help you through the difficult days ahead. The reality is that you’ll probably have more days when you don’t “feel” like training. This is the reason we preach Standards Over Feelings because we understand how fundamental this is for human behavior. There have been several studies on human behavior that have helped identify the single biggest predictor of success when it comes to long-term consistency with your fitness. It’s not keeping a gym bag ready and with you at all times…although this helps. Setting your gym clothes out the night before is a great idea…but it’s still not the determining factor. Surprisingly it’s not even having an accountability partner. Schedule in advance when and where you’ll do your training. Everything else is simply in support of this habit. Being accountable to someone you don’t want to disappoint is incredibly helpful, but if you haven’t taken that first step, accountability falls short. Having been that accountability piece for hundreds of people, I’ve been ignored and ghosted more times than I can count. Even my sister stopped responding to text messages and phone calls at one point. (I called our mother but apparently you can’t put an adult on restriction). Scheduling in advance WHEN and WHERE you’ll workout is the single most important step to developing consistency with your fitness. This helps you develop integrity with yourself…if you say you’ll do something, that thing gets done. Period. Show up like a boss and bosses don’t cancel. Your training is time on your calendar dedicated to getting better. The workouts on your calendar become non-negotiable. You don’t wake up and see how you “feel” because you already know there will be days you don’t “feel” like it. In advance, you schedule your training where it best fits into your life with your responsibilities. Once you’ve planned your work, you show up and work the plan. If you fail to plan the work, you’re significantly increasing the likelihood of failure. Ask someone that has been remarkably consistent with their fitness if they know when and where they’ll workout.  This has already been decided. Their feelings aren’t involved in the process. If you truly want to be consistent with your fitness, this habit is a must: Schedule in advance when and where you’ll workout.
By Will Matthiessen 19 Apr, 2024
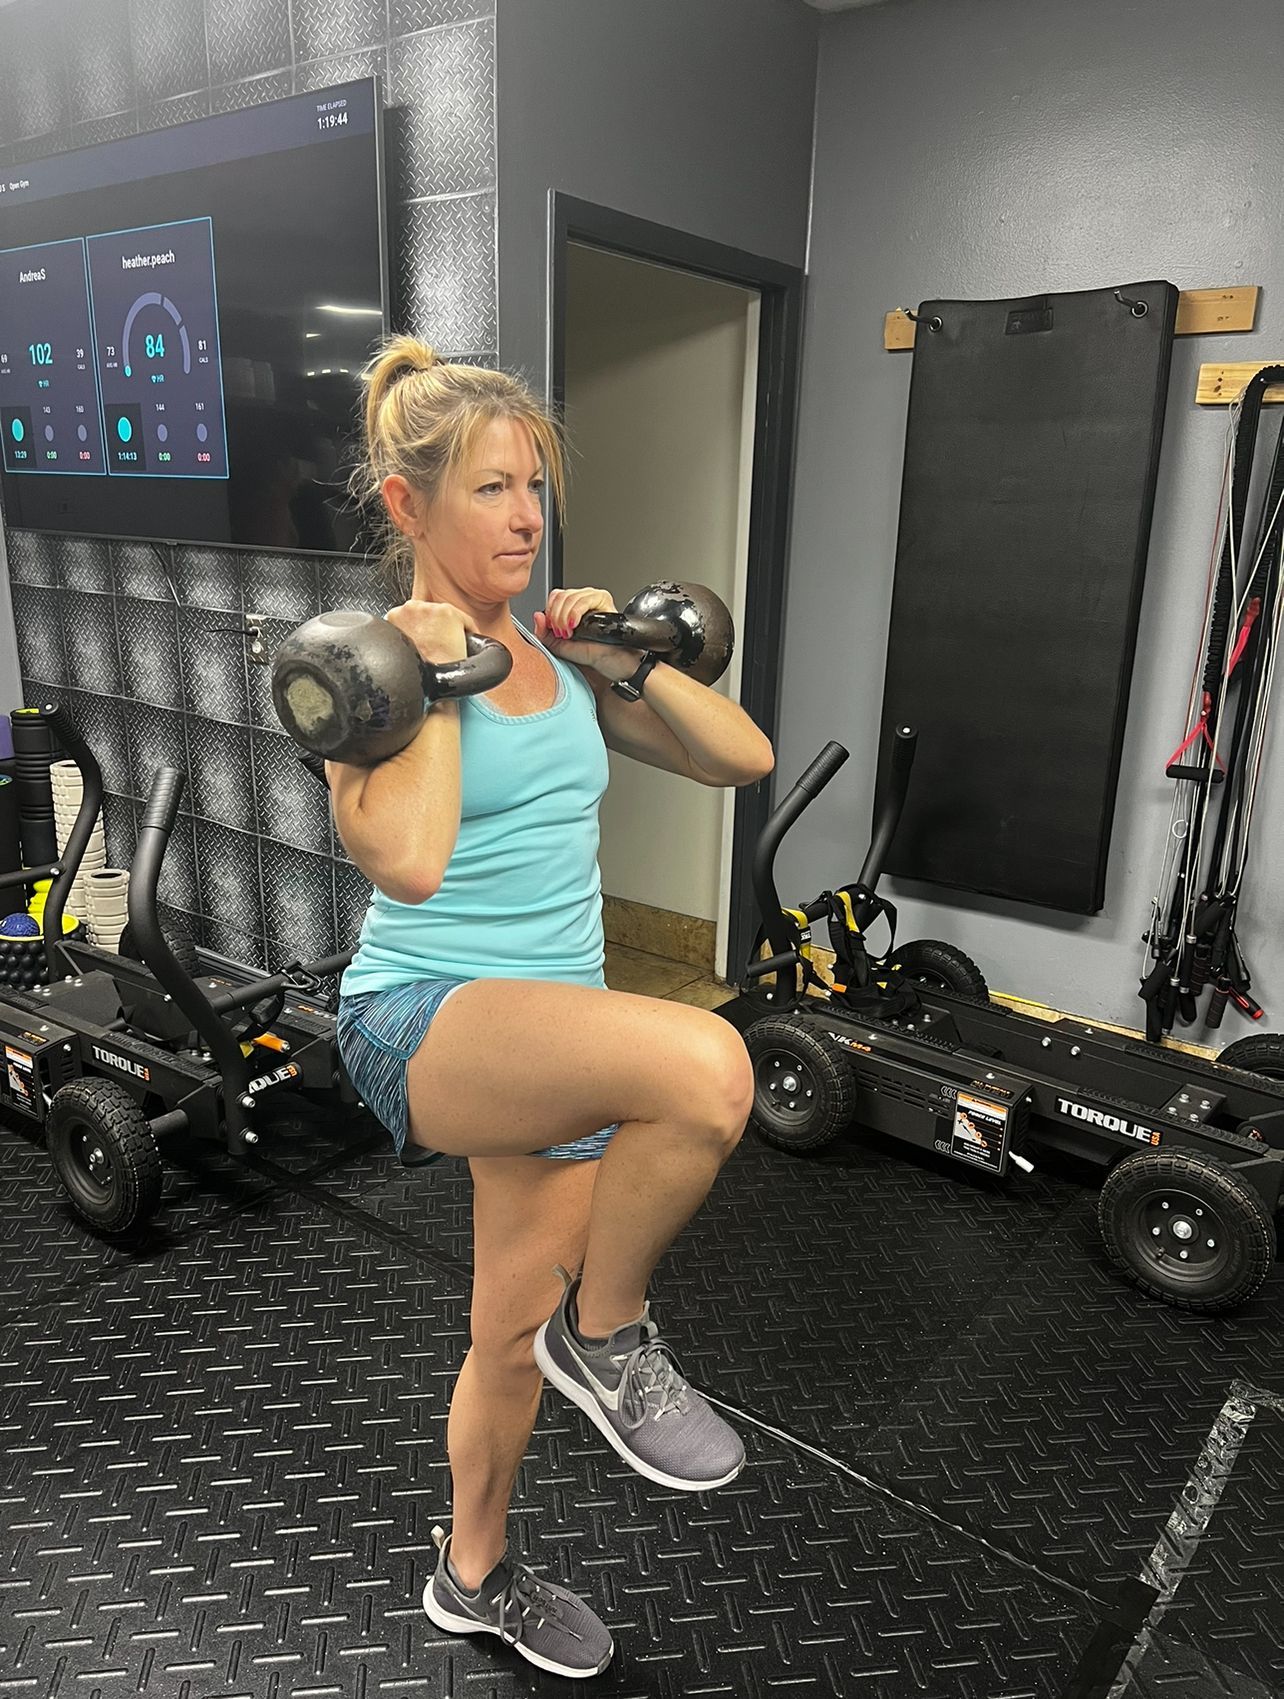
Crunches.  The go-to core exercise for a lot of gym goers. Yet, it’s one of the worst ab exercises you can do. Shocking, I know. You’re probably wondering why it’s one of the worst. Crunches put force on your spine and oftentimes strain on your neck. They force your spine into flexion, which is generally what people are told not to do in order to protect their back. Aside from the pressure it puts on your spine, crunches don’t activate your core muscles to the extent that a lot of other dynamic core exercises do. If your goal is to have sculpted abs like a lifeguard on Baywatch, crunches are not your solution. Aside from the aesthetic aspect, a strong core is important for your body’s balance and stability, posture, and reduction of back pain and other injuries. If you want to develop a rock hard core, here is a list of exercises better than the old fashioned crunches that you can start incorporating into your workouts: The Hard Style Plank Put your forearms on the ground and your arms set shoulder width apart. Your arms should be parallel to your body. Once you’re up in the plank, imagine squeezing your elbows to your knees and your knees to your elbows. Don’t be surprised if you start shaking like a leaf as soon as you create that tension. Dead Bugs Lie on your back with your arms straight up and your hands above your shoulders. Bend your legs at a 90-degree angle with your toes facing up at the ceiling. Imagine pushing your belly button into the ground and keeping your body tight enough to where if someone was pulling on your limbs, you’d be able to resist it. Next extend your right arm and left leg at the same time, without touching the ground. Keep pushing your belly button into the ground to avoid arching your back. The right leg that is still bent should stay completely still while the other leg is in motion. Bring your arm and leg back into the start position and then switch sides. When it comes to Dead Bugs, one of our favorite sayings applies: “Slowly is holy. Faster is disaster.” If you want to increase the intensity, add a kettlebell to the stationary arm. If you want to significantly increase the intensity, press the kettlebell once you’ve reached the fully extended position. Reverse Crunches Lie down flat with your back on the floor and your legs straight down, toes pointed up. Press your lower back into the floor and pull in your belly button as you lift your legs together up off the floor. Push your heels through the ceiling at the top and slowly lower them back to the ground. Fun, right? Double Kettlebell March Hold two heavy kettlebells in the racked position. Pull your belly button to your knees and your knees to your belly button to find max tension in your core. Once you feel that tension, slowly lift one knee up 90 degrees and then switch legs. Hollow Rocks I’ve saved the worst (I mean best) for last. Lay down on the ground with your legs a little bit off of the ground as well as your shoulder blades and head. With arms extended over your head, rock back and forth like a banana rocking back and forth on a counter. Or a see-saw…take your pick. Alright, now that I’ve given you the secret sauce to getting rock hard abs, it’s time to get to work people!
By Juan Perez 05 Apr, 2024
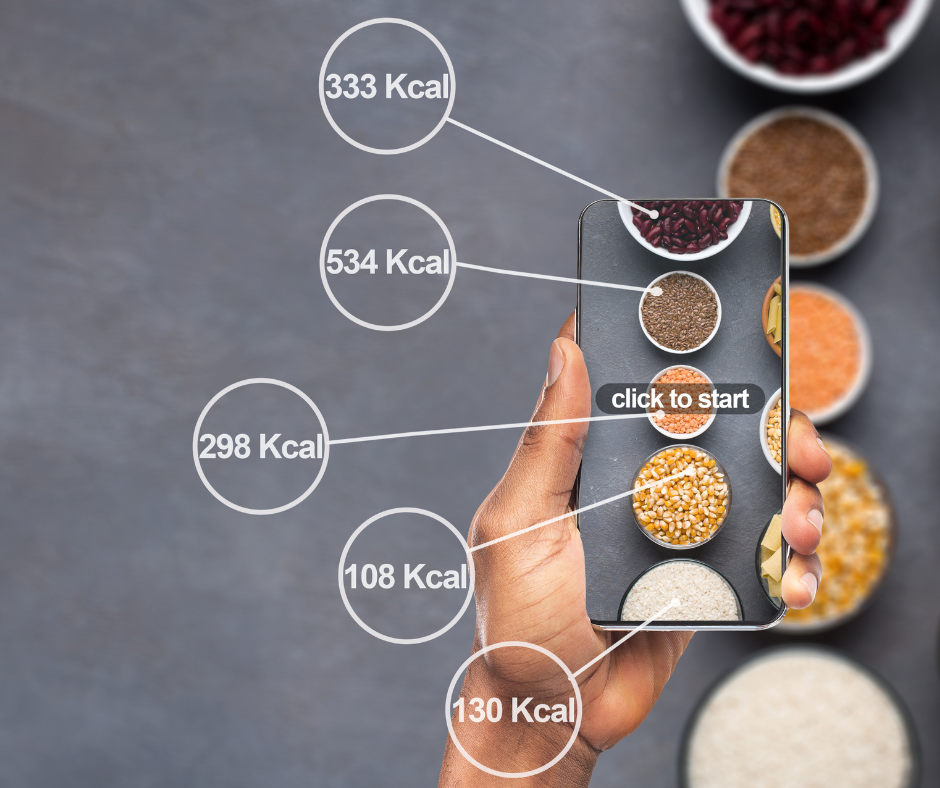
One of the first recommendations you’ll hear for someone wanting to lose weight is to begin by counting calories. Although weighing your food and counting calories does work for some people, the reality is that this approach to weight loss has an astonishingly high failure rate. If this strategy is “based in science”, why does it fail more than 95% of the time? The Top 3 Issues With Counting Calories The number of calories in the foods you eat are estimates. This is where the concept of counting calories being “based in science” can be misleading. The FDA allows companies to use 5 different formulas to estimate calories and a standard deviation up to 20% is acceptable. This means that something listed as 150 calories exists on a range between 120 calories and 180 calories. How ripe is your banana? The ripeness affects caloric availability. The second issue is that as individuals we each absorb a different amount of the calories from the food we consume. Thirdly, Americans are notoriously bad at determining healthy portion sizes. Our super-sized culture has heavily influenced our concept of a normal sized portion. The good news is that there is another way to lose weight without counting calories. The Three Pillars of Nutrition Whether or not you’re a card-carrying member of Camp Calorie Counters, the foundation of your nutrition is built upon three pillars: Food Quality, Food Quantity and Food Timing. Food Quality All calories are not created equal. The popular 100 calorie snack bags do not offer the same nutritional value as 100 calories from fruits or vegetables. When the majority of your meals are composed of minimally processed single ingredient whole foods (lean protein, fruits and vegetables), you’re more likely to get the micronutrients your body needs to thrive. Food Quantity As mentioned earlier, Americans aren’t known for our skills at eyeballing healthy portion sizes. Although using a food scale to determine portion sizes can be helpful, it isn’t always practical. This is the reason we recommend learning to use your hand as a guide to determine portion sizes. You can’t take a food scale with you everywhere you go but you’re always allowed to bring your hands!
Show More
Share by: